
For real estate and interiors, the image is the product. An empty room photographs cold; a cluttered one distracts; and a beautiful "what it could look like" render is what makes a buyer or client lean in. GPT-Image-2 handles all of it from a photo or a prompt: virtual staging, style redesigns, listing hero shots, and floor-plan renders.
This guide uses GPT-Image-2, including its image-to-image (edit) capability so you can work from real room photos.
Why use GPT-Image-2 for property and interior visuals
- Stage without moving furniture: turn an empty or dated room into a warm, furnished space in half a minute — no physical staging;
- Show the potential: give clients a photoreal "after" for a redesign before spending a cent on renovation;
- Keep the real room: with a strong "don't change the architecture" instruction, the model restyles the space while preserving the actual walls, windows, and layout.
Direction A — Virtual staging (from a real photo)
The highest-value use for agents: upload an empty room photo and furnish it. The key is a firm instruction to keep the architecture unchanged.
Open https://image-2.net/, upload the room photo, then:
Using the provided photo of an empty room, virtually stage it with tasteful furniture.

Keep the room's architecture exactly the same — walls, windows, floor, ceiling, and layout must not change. Only add furniture and decor.
Style: bright modern living room, a sofa, coffee table, rug, plants, wall art, warm inviting lighting, staged for a real-estate listing, photorealistic, realistic scale and shadows.
👉 Use this prompt: Remix the virtual staging prompt
Reference template: Real Estate Listing Hero Interior. Pick 16:9 and 2K.
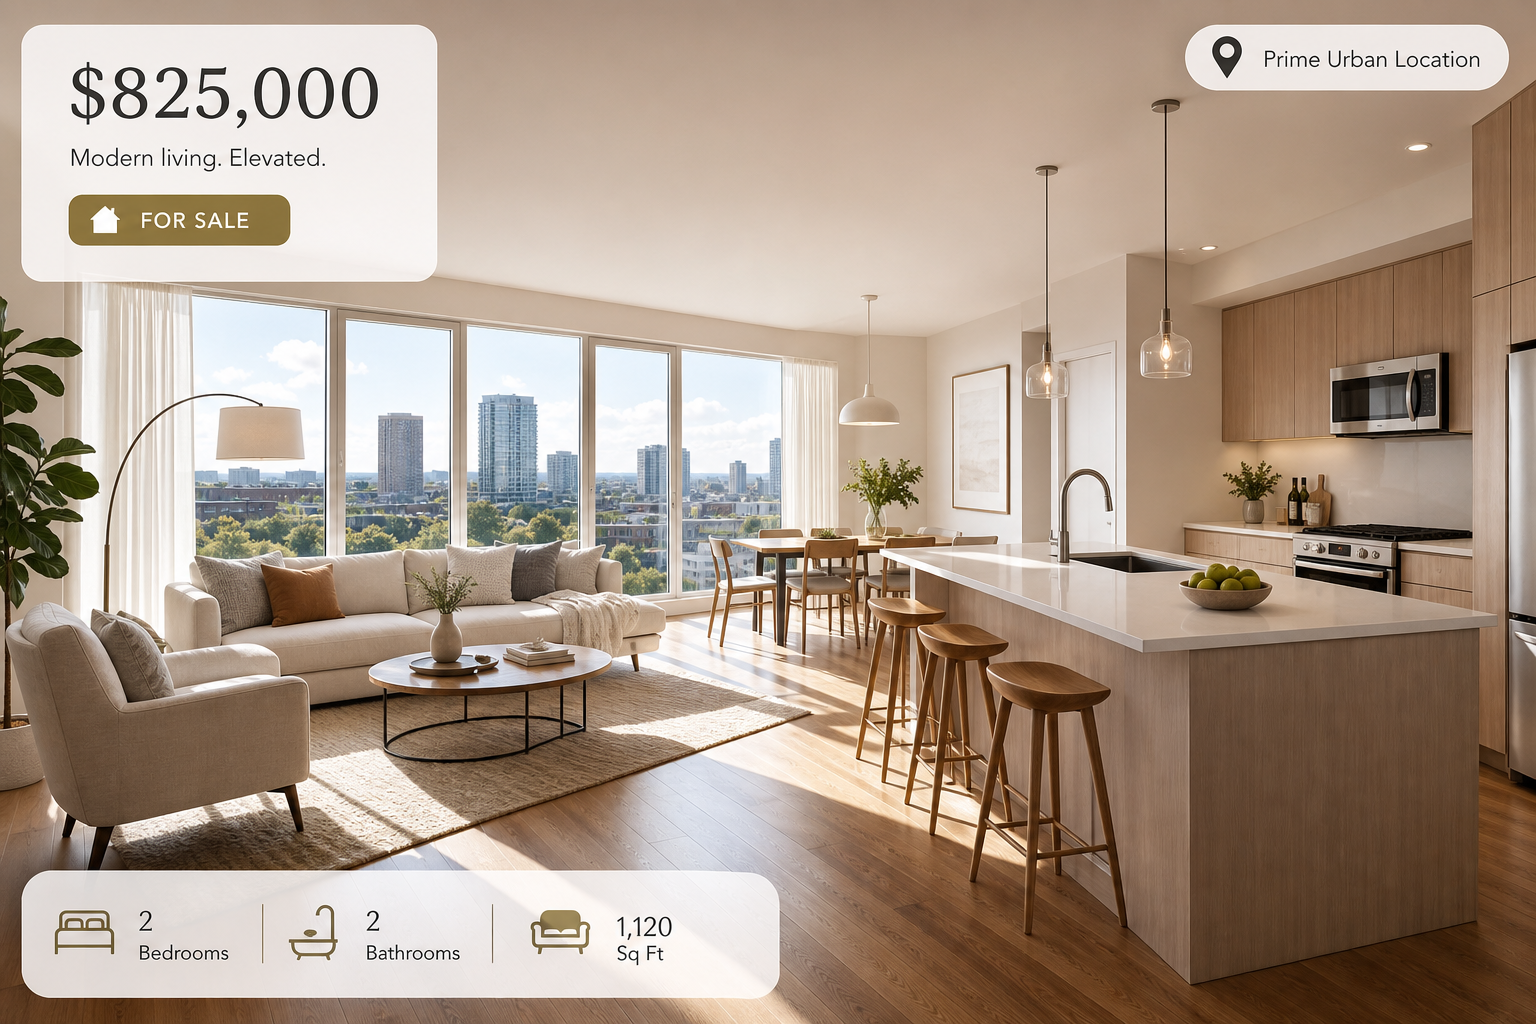
Disclosure note: virtually staged photos should be labeled as such in a listing. Use them to show potential, not to misrepresent what's physically there.
Direction B — Interior redesign / restyle
For decor creators and homeowners: upload a room and restyle it in a target aesthetic, keeping the same space and viewpoint.
Using the provided photo of a room, redesign the interior in a new style while keeping the same room and layout.

Target style: warm Japandi — natural wood, off-white walls, low furniture, linen textures, minimal decor, soft daylight.
Keep the windows, proportions, and viewpoint the same. Photorealistic result, realistic materials and lighting.
👉 Use this prompt: Remix the redesign prompt
Style inspiration templates: Japanese Minimalist Living Room, Luxury Boutique Interior, and Sunken Modern Living Room. For a shareable before/after card, see RedNote Before/After Room Makeover.
Direction C — Listing hero and floor-plan renders (text-to-image)
No photo? Generate the visual from a description:
- Listing hero shot: describe the property and get a bright, editorial interior — start from Real Estate Listing Hero Interior;
- Floor-plan render: turn a layout into a clean 3D-style floor plan — see Architecture Floor Plan Render;
- Immersive tour frame: a wide, tour-style interior — see 360 Modern Apartment Tour and Architectural Museum Render.
The one instruction that makes or breaks staging
When editing a real room, the model's temptation is to "improve" the architecture too. Prevent it:
- Repeat "keep the room's architecture exactly the same" — name the walls, windows, floor, and viewpoint that must not change;
- Say "only add/replace furniture and decor" — this scopes the edit;
- If it still alters the room, click Use as reference and add "restore the original walls and window positions, change only the furniture."
Export for listings and social
- Use the Image Resizer to output listing-portal sizes or a social 1080×1080;
- Use the Image Cropper to reframe to the platform's aspect ratio;
- For a before/after social post, generate both states and place them side by side with the Photo Collage tool.
Generate another, or use "Use as reference" for fixes
- Furniture scale off? Click Generate another to reroll;
- Model changed a window? Click Use as reference and restore it, changing only the furnishings;
- Want a different style or time of day? Click Use as reference and add "warm evening lighting" or a new aesthetic to the prompt.
Tip: pick
2Kfor print-quality listing photos, and keep the same camera viewpoint as the original when staging — it makes the before/after comparison honest and convincing.
Wrap-up
Property and interior visuals come down to three things:
- On image-2.net, upload a room and stage or restyle it — always with a firm "keep the architecture unchanged" instruction;
- Or generate listing heroes and floor plans from a description;
- Export per platform, and label virtually staged photos honestly.
Save the prompt and templates, and you can stage or restyle an entire listing's worth of rooms in an afternoon.